React Native Navigation's
Navigation in React Native is essential for creating seamless transitions between screens. Here are the three primary navigation types and their uses, explained in a simple and structured way.
1. Stack Navigation
This type of navigation is used in scenarios like login flows, onboarding screens, or any app with a linear progression.
The main advantage of Stack Navigation is its intuitive "Back" functionality, which allows users to revisit previous screens easily. It also supports dynamic screen transitions for better user engagement.
Example Code:
2. Bottom Tab Navigation
Bottom Tab Navigation features a row of tabs at the bottom of the screen, enabling quick access to different app sections.
It is best suited for apps with multiple main categories, such as social media platforms or e-commerce apps.
Its advantages include better user navigation and a visually appealing design. Tabs can include both icons and text, making them easy to understand and interact with.
Example Code:
3. Drawer Navigation
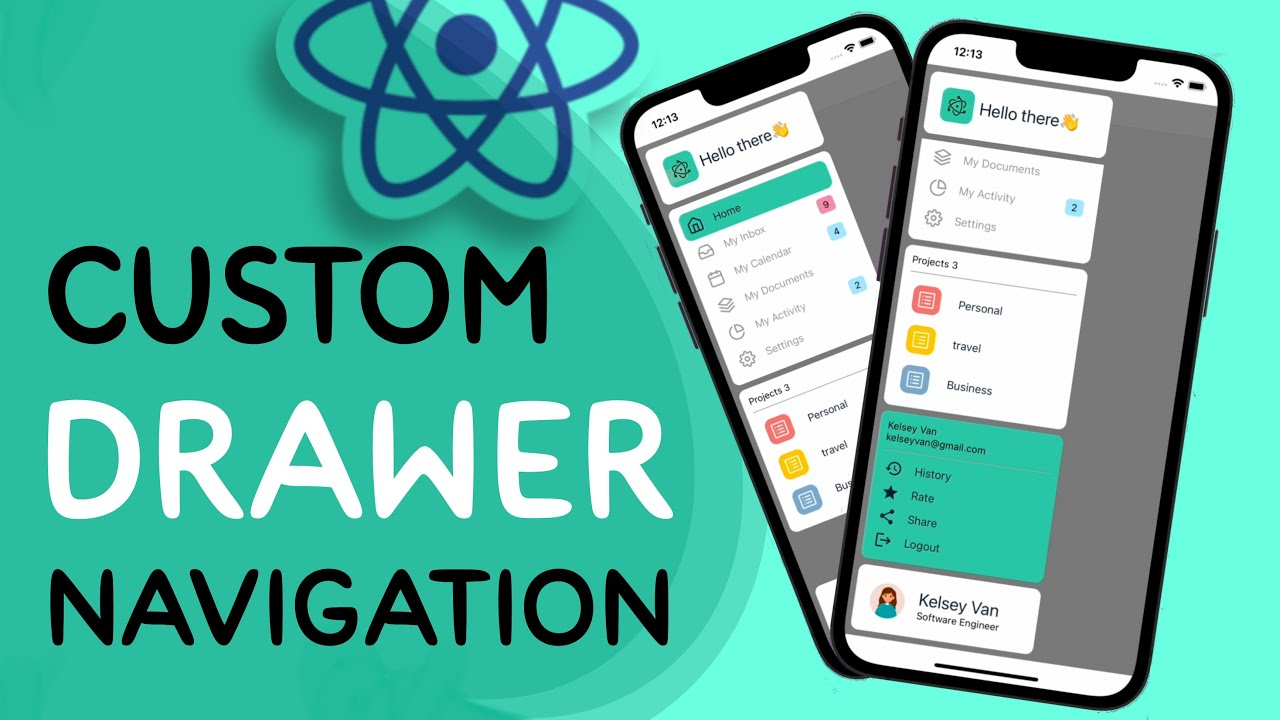
Drawer Navigation offers a hidden side menu that slides in from the edge of the screen, usually containing navigational links or app settings.
This navigation style is ideal for applications with numerous options or categories that don’t fit well on a single screen.
It keeps the app layout clean while giving users access to additional features. The drawer can be highly customized to suit the app's theme and functionality.
Example Code:
Why Navigation Matters
Efficient navigation not only enhances user experience but also improves the overall usability of the app. React Native navigation types are designed to work seamlessly across platforms, making them versatile and scalable.
By mastering these navigation techniques, you can build apps that are both functional and user-friendly, ensuring your app stands out in the market.


0 Comments